☰ Table of Contents
- Complete Guide
- Table of Contents
- Introduction
- Welcome to iScreensaver
- Downloading and Installing
- Designing and Preparing
- Preferences
- Managing Projects
- Importing Media
- Editing a Screensaver
- Branding Control Panels
- Customizing Installers
- Building Installers
- Distributing Installers
- QuickStart and Sample Projects
- Installing a Screensaver
- Troubleshoot
iScreensaver User Guide
To explore the User Guide, from the list on the left do one of the following:
- Select Complete Guide to load the unabridged version.
- Select Table of Contents to select from the table of contents.
- Select a Chapter directly from the section that best describes your questions.
- Select QuickStart and Sample Projects to see authoring examples.
- Select Space Sample Project using movie and motion imagery.
- Select Presentation Slides Project using bullet point presentations.
QuickStart Guide
Enough with the what does what and why, get to the how?
OK, let's go. If you've been through the manual from the beginning already, then you've seen elements of the QuickStart Guide, but it doesn't hurt to refresh.
Before, we said that these were the basics:
"...drag-n-drop your asset files into a new project. Drag them around to re-order them. Use the Info palette and Preview window to test options. Build your installer with the Share controls. Install, and wait for sleep..."
...so let's start:
Using the Application
When iScreensaver first opens, you'll be presented with a Projects List window (A), where you can create a new screensaver or open a sample one. Upon opening a project, a Project window (B) will appear, with Video and Audio sections wherein you can drag-and-drop media files, to import the files into the sequence. A Preview stage (C) and an Info palette (D) can both be opened to edit the per-sequence and per-item settings. Use the "Run Full Screen" command from the Preview menu to test your screensaver. Once you are happy with the sequencing, you'll want to build the screensaver Installer. Customize the screensaver installer on the Control Panel and Installer Tabs. Then use the Share Tab to create your Mac and Windows screensaver installers.
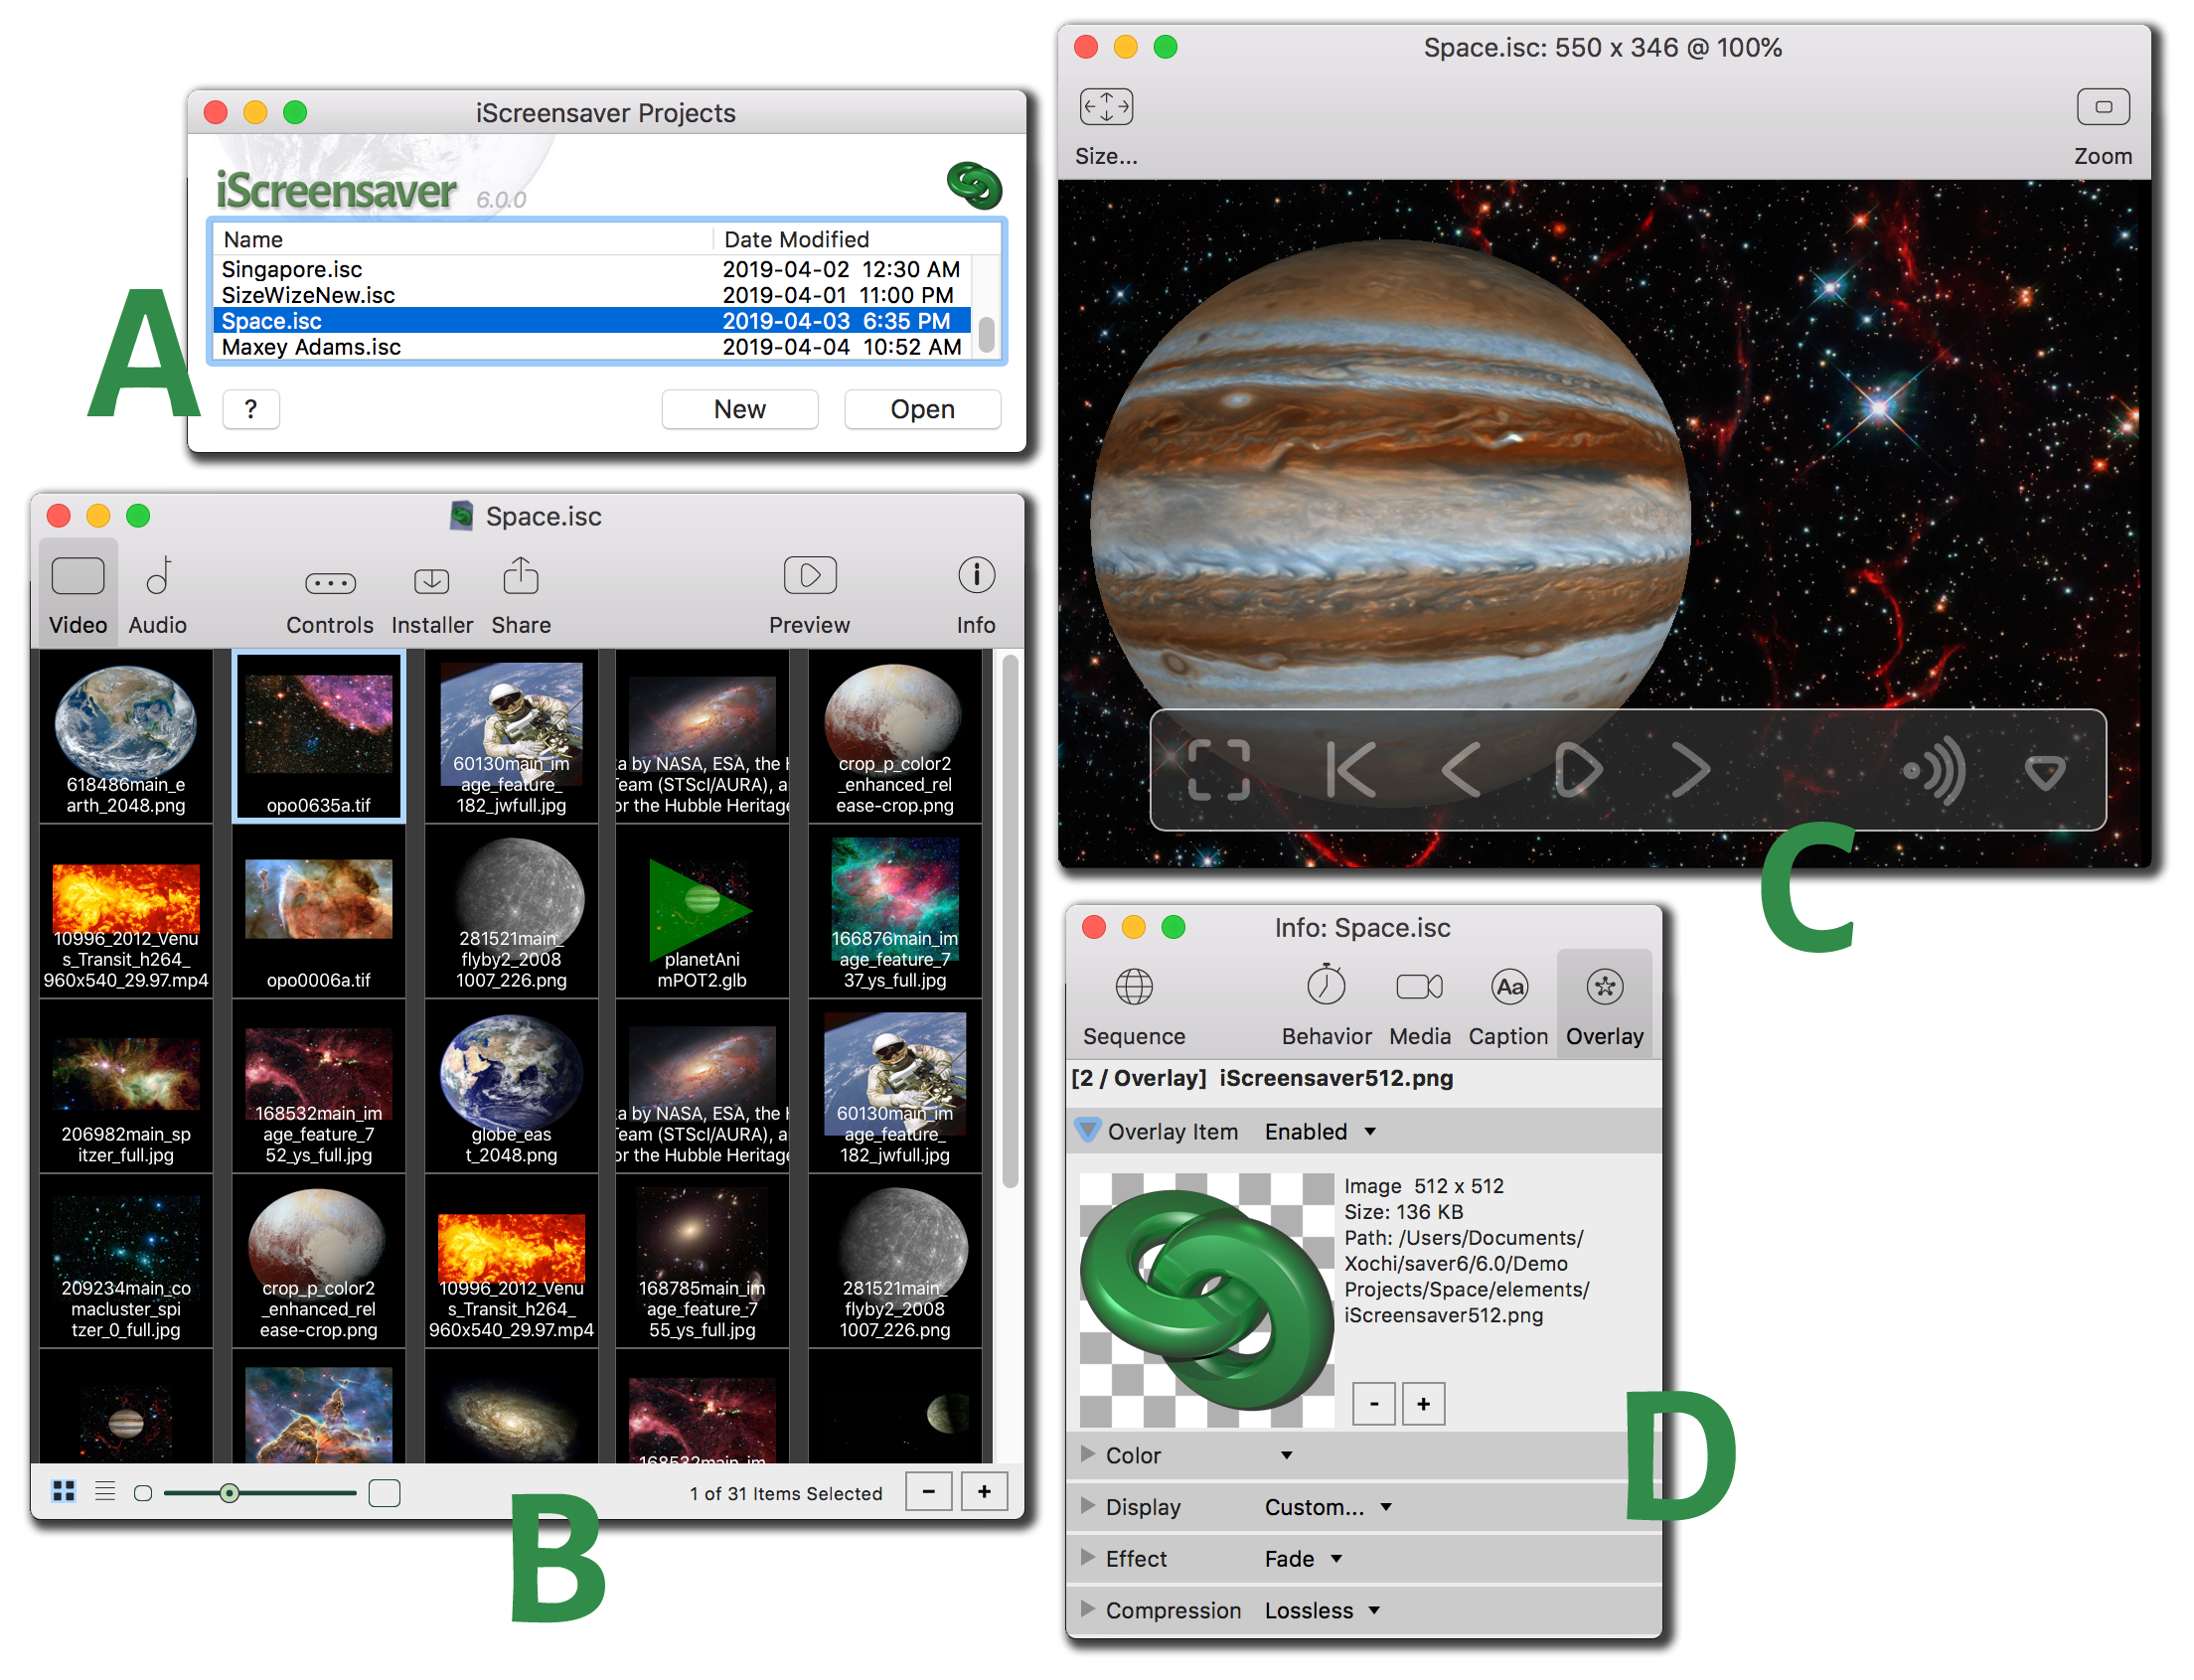
A: The Projects List window: Open a recent project, or start a new one.
B: The Project window: Edit your screensaver sequences and customize the software.
C: The Preview stage: View your screensaver as you edit.
D: The Info palette: Edit per-sequence and per-item settings.
Many of our User Manuals' images are Mac-based, but Windows works the exact same way, unless noted.
Creating a New Project
To start a new screensaver project:
- Do one of the following:
- Click the 'New' button.
- Select New from the File menu.
- On Macintosh, type Command-N.
- On Windows, type Control-N.
A new project window will open.
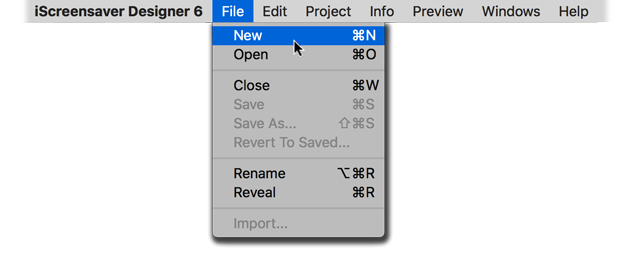
Choose New from the File menu.
Naming a New Project
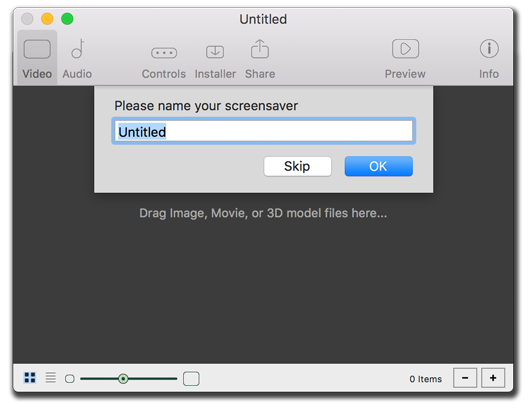
When you create a new project, you'll be asked for a name. This name will be used in various places; the project name, the control panel title, the installers, and the screensaver and installer filenames. You can also skip this step, or turn this feature off from within the Preferences. You can always edit these text strings later.
To create and name a new screensaver project:
- Do one of the following:
- Click the 'New' button.
- Select New from the File menu.
- On Macintosh, type Command-N.
- On Windows, type Control-N. - A new project window will open, and the wizard will ask for your new screensaver name.
- Enter a name, and click the OK button.
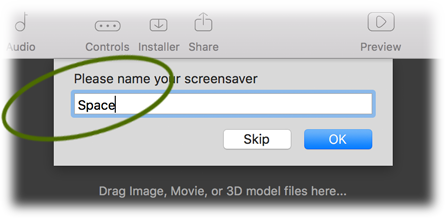
Choose Skip to not auto-fill any names.
So, What Does The Wizard Do Exactly?
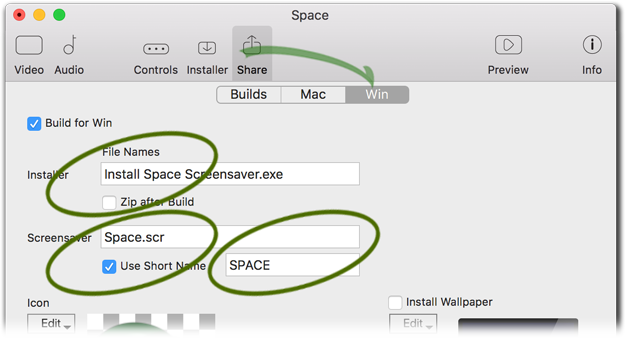
The wizard places your 'name' in the following locations, using 'Space':
- Project name:
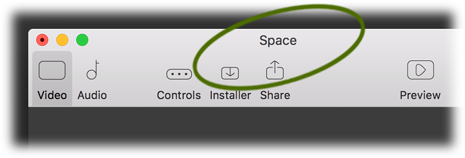
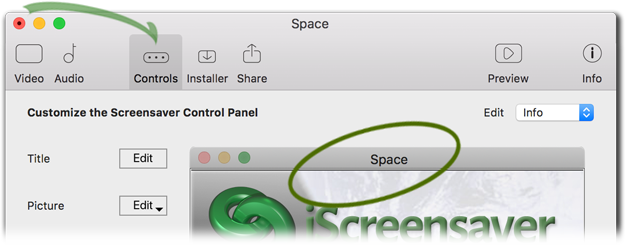
- Controls window title bar:
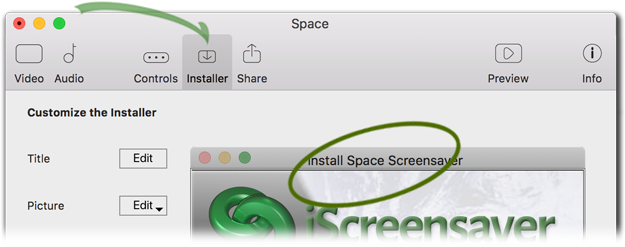
- Installer window title bar:
- Build Macintosh file names:
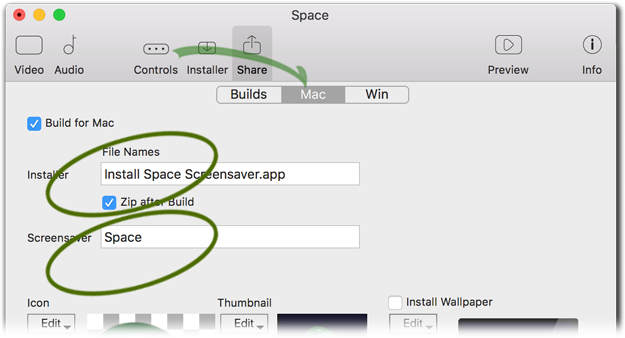
- Build Windows file names:
Tips:
- No matter what name you used in the wizard, you can always edit everything later.
- There is generally no need to name the screensaver with 'Screensaver' with the wizard (but that's a personal choice). It is automatically added to the installer name, but can be edited if you choose.
- If you do not see the wizard when starting a new project, check the Preferences, as it may be switched off.
- Names can include Unicode (UTF-8) text, and should work on all supported operating systems, but only if the requested fonts are installed. Be sure to test thoroughly.
- The wizard names the Project, but it does not automatically save the Project. Make sure to periodically save your projects.
Importing Video assets
You can import a single file, multiple files, or even a folder. When importing a folder, all sub-folders will be included. Files will only be imported if they are the proper video format. Use software such as Apple's QuickTime Player to prepare movies in the HTML5 cross-platform H.264 compression format. Any H.264 movies, 3D objects (.GLB, using GLTF 2.0 binaries), and image files can be imported at the same time.
To import video assets:
- Do one of the following:
- From the desktop, drag the files into the Video tab's Sequencing area.
- Click the [+] button on the Project window, and select with the Open File browser window.
The assets will be automatically added as new items in the Sequence area.
Tips:
- Some media file formats require that third party decoders be installed on both the author's computer and on the end-user's computer. If this has occurred, think about converting the items to proper cross-platform standards.
- On Windows OS, you can only select a single file in the File Open browser. To import multiple assets, drag-and-drop from Windows Explorer instead, or select a Folder containing multiple assets.
- When importing a folder containing many items (more than 100), all items will be scanned, and you will be given a chance to confirm or cancel. HIt the ESC key to cancel the scanning process.
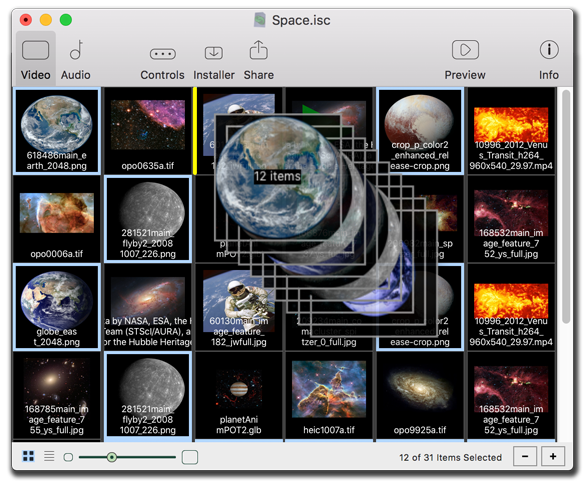
Sequencing Video Items
Video items can be rearranged within the Sequence when using either Thumbnail View or List View. Use standard selection keyboard short-cuts to choose multiple and non-contiguous assets. Items will play back in the order shown. However, if the sequence has the global "Shuffle" setting enabled, then the order will be randomized during playback.
To change the order of video assets:
- In the Video tab, select any files to be moved by doing one of the following:
- Click to select a single item.
- Shift-click to select a contiguous set of items.
- On Macintosh, command-click to select non-contiguous items.
- On Windows, control-click to select non-contiguous items. - Drag the items to the new location within the Sequence area.
The items will then move into the new order.
Tips:
- In Thumb view, the actual sequence order is always as shown, even if shuffle is active.
- In List view, the actual order is only accurate when you are sorted by the first column (the Item #). If you are sorting by a different column, then the current order will be the temporary sort order. To change the sort order in list view, click the 'Item #' column so that you are sorting by item number before re-ordering items.
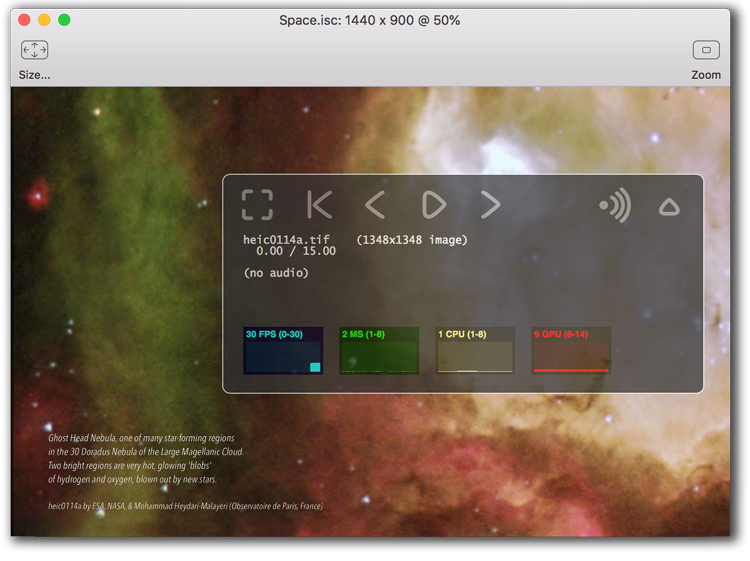
Previewing the Screensaver
Computer monitors come in all shapes and sizes. For this reason, you'll need to think about how your screensaver will look on a wide variety of screens. This is not a trivial task. iScreensaver helps you by providing the Preview Stage window which allows you to preview, in a WYSIWYG fashion, how the screensaver sequence will look at various screen sizes.
Open the Preview stage by clicking the "Preview" button on the toolbar of the Project window. You can open one Preview stage for each project that is currently open.
The Info palette
Sizing, locations, captions, overlays, duration, and compression are but a few of the options available through the Info palette. From a macro level to micro, the left to right order of toolbar icons scales from global settings (that apply to the entire sequence) to per-item settings, and finally to per-layer.
Remember the hierarchy: a Screensaver consists of an Audio Sequence and a Video Sequence. A Sequence consists of one or more Items. Each Item consists of one or more Layers. Each Layer contains a single Asset.
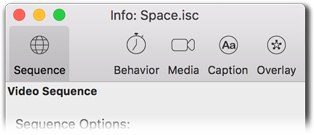
Sequence
Global settings which affect entire video or audio sequences, such as looping and shuffle.
Behavior
Options specific to each Sequence Item of a sequence, such as duration, time points, or layer disabling.
Media
Settings for the media layer: selecting the asset file, and adjusting playback location, audio volume, and others [Video Sequence only] such as background color or masking, effect transitions, and file compression.
Caption
Settings for the caption layer: Styled text display. [Video Sequence only]
Overlay
Settings for the overlay layer: Picture display on-screen. [Video Sequence only]
Building the screensaver
On the master Share tab, you can set the author's name, and build screensaver installer for one or more platforms. Just select the platforms you wish to build, then click the 'Build' button.
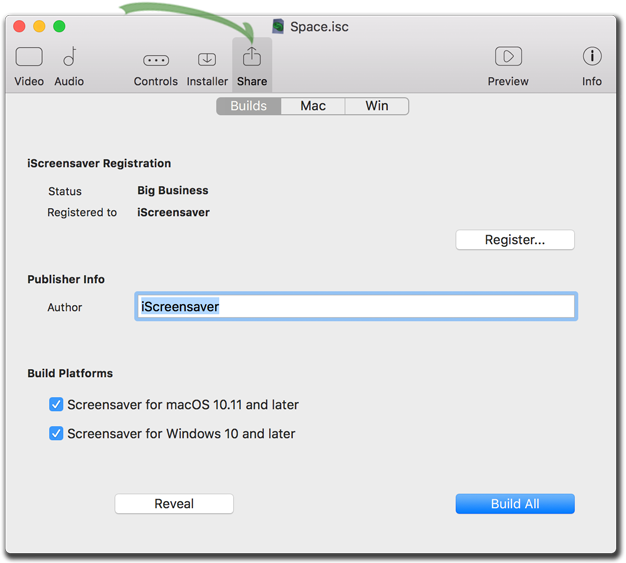
To build your new screensaver:
- On the Build tab, click the 'Build All' button.
- Your screensaver installer will build.
- On the Build Progess dialog, click the 'Details' disclosure triangle for build details and progress. Pay special attention to any warnings or errors that are shown.
- The Build will end with a choice to reveal the newly-built folder on the hard drive. If you are building for the same OS that you are using, you can also choose to install the new screensaver on your computer.
Install Your Screensaver
When the installer has been built, click on the 'Install' button.
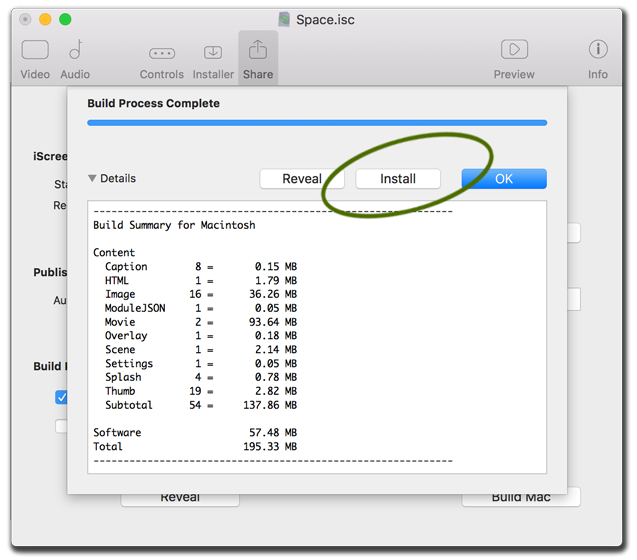
To install your new screensaver:
- Wait while the Installer is being built.
- On the Build Progress dialog, click the 'Install' button.
- Your screensaver installer will open.
- On the installer, click the 'Install' button.
- Follow any on-screen instructions. When complete, the Install window will close and the Screen Saver Control Panel will open with your screensaver selected and ready to use.
- To start the screensaver, do one of the following:
- On Windows, click the 'Preview' button.
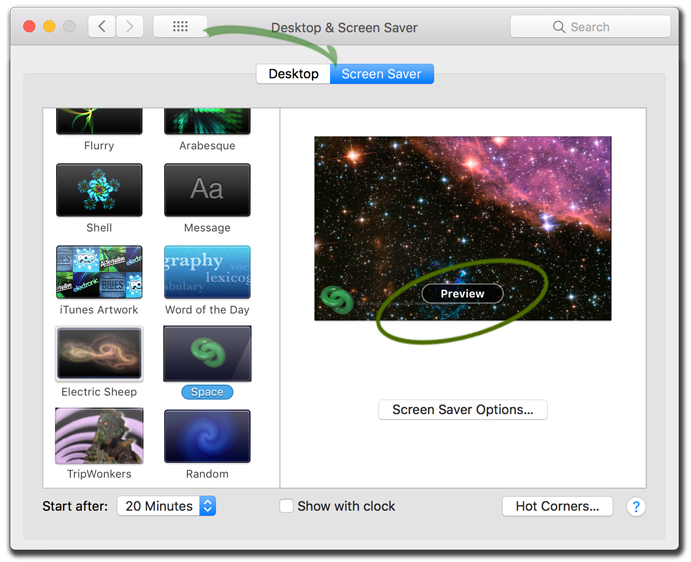
- On Macintosh, click the 'Preview' button.
- If Hot Corners are in use, place the cursor in the hot corner.
- Leave the computer alone for the time delay set in the controls. - Your screensaver will start.
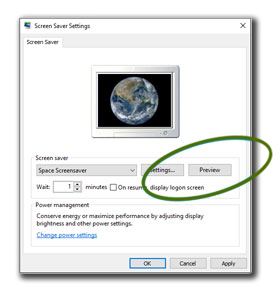
To find options after installation:
Windows: Use Control Panel's Personalization: Lock Screen: Screen Saver Settings.
macOS: Use System Preferences' Desktop & Screen Saver.