☰ Table of Contents
- Complete Guide
- Table of Contents
- Introduction
- Welcome to iScreensaver
- Downloading and Installing
- Designing and Preparing
- Preferences
- Managing Projects
- Importing Media
- Editing a Screensaver
- Branding Control Panels
- Customizing Installers
- Building Installers
- Distributing Installers
- QuickStart and Sample Projects
- Installing a Screensaver
- Troubleshoot
iScreensaver Project Samples
Sample Projects
Sample Projects
VIEW Sample Project: Space
VIEW Sample Project: Presentation Slides
Downloading Sample Files
DOWNLOAD the imagery and sample .ISC file of this project with which to practice.
Windows users, please be sure to 'Extract All' when unzipping.
Presentation Slides
This presentation slideshow sample project has examples of a bullet-point text presentation, and how to create solid wipes and dissolves.
Project Background: our customer was contracted to create a complicated Flash animation for a client's screensaver, but at the end of the project the client's specifications changed against using Flash, so the customer came for advice. In looking at it, the Flash animation was really a fancy bullet-point feature list, so we made the suggestion, since the original Flash contractors completed their work, to take screengrabs and use the built-in transition effects to animate the same. The end results pleased both customer and client.
Flash update: Flash is reaching end-of-life and is no longer supported by most all developers, however this demonstration remains relevant.
Demonstration Summary: Preparing and animating presentation slides, using Dissolves and Wipes. However, instead of screen capturing from a Flash animation (only recommended in a emergency), we create new bullet-point frames in a third-party graphics application.
Preparing your assets
A third-party application like GIMP or Adobe Photoshop can be invaluable in adjusting, cropping, or formatting your images. For our customer's project, the Flash .FLA project was not available, so we used the built-in macOS screen capture commands to screengrab while running the animation full screen in Flash Player.
For this example, we created six frames of a generic bullet-point presentation: a blank background, a title card with the client's name, and a sequence of text changes building to a large splash. (This, of course, is a gross simplification of our customer's actual project.)
The images were created in Photoshop at 1024x768 in size and would be set to display as Letterbox on the end users' monitors. The 'Save For Web' feature allows saving in a lossless PNG-24 format, since the JPEG compressors have trouble properly reproducing gradient ramps.


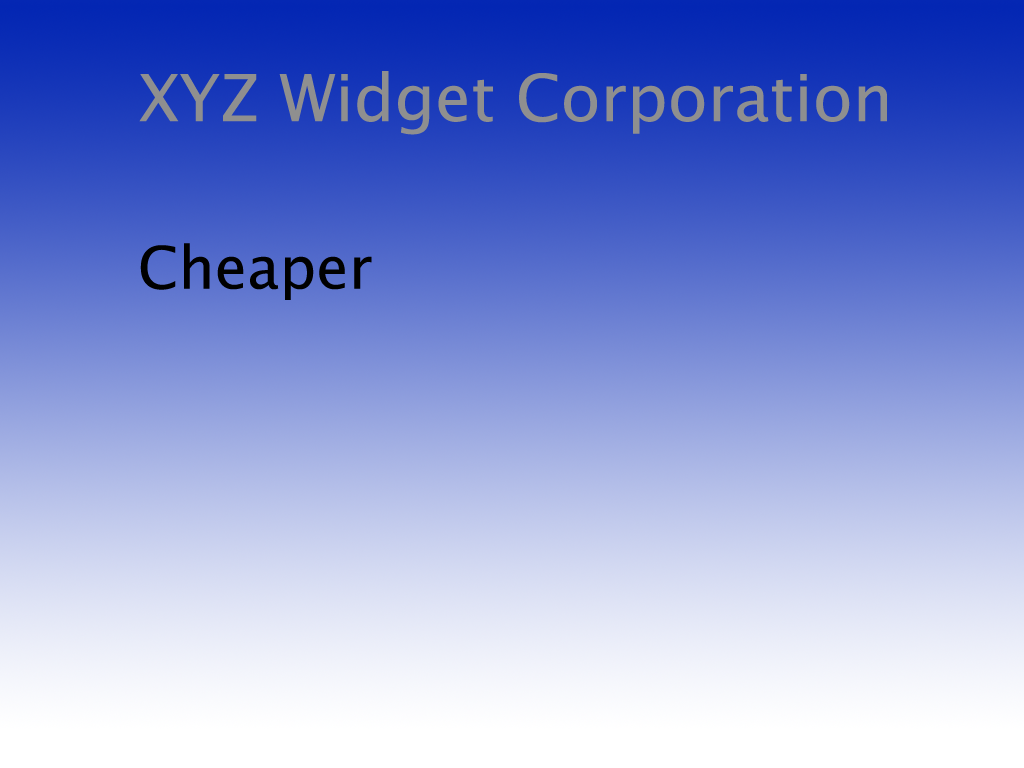
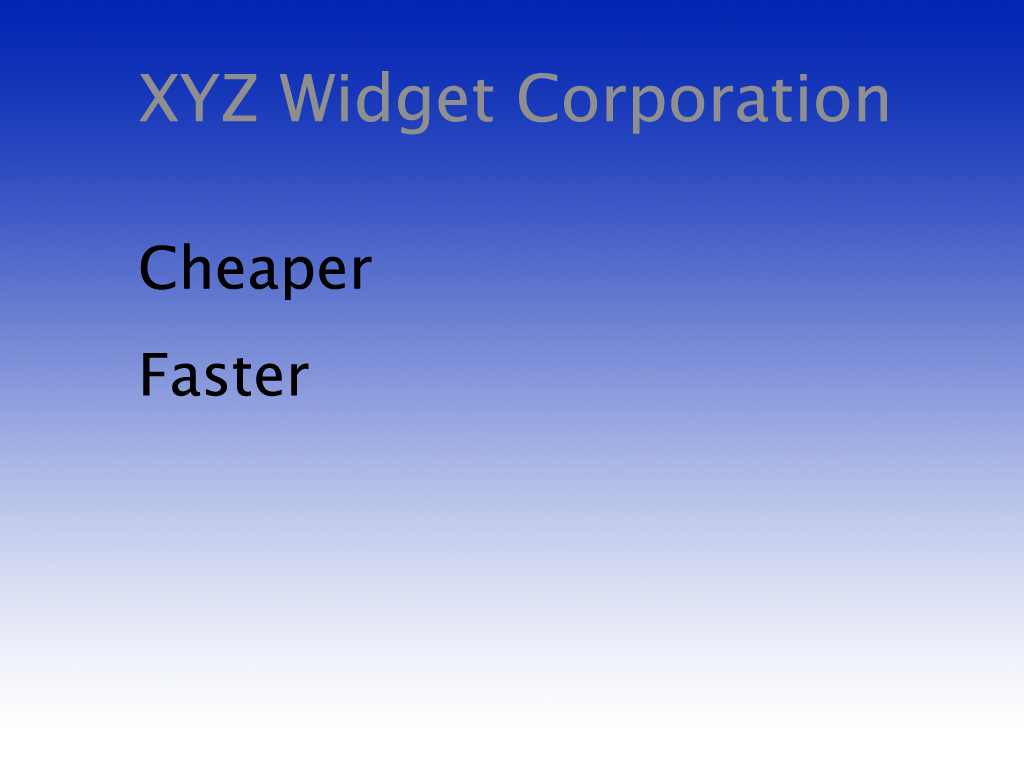
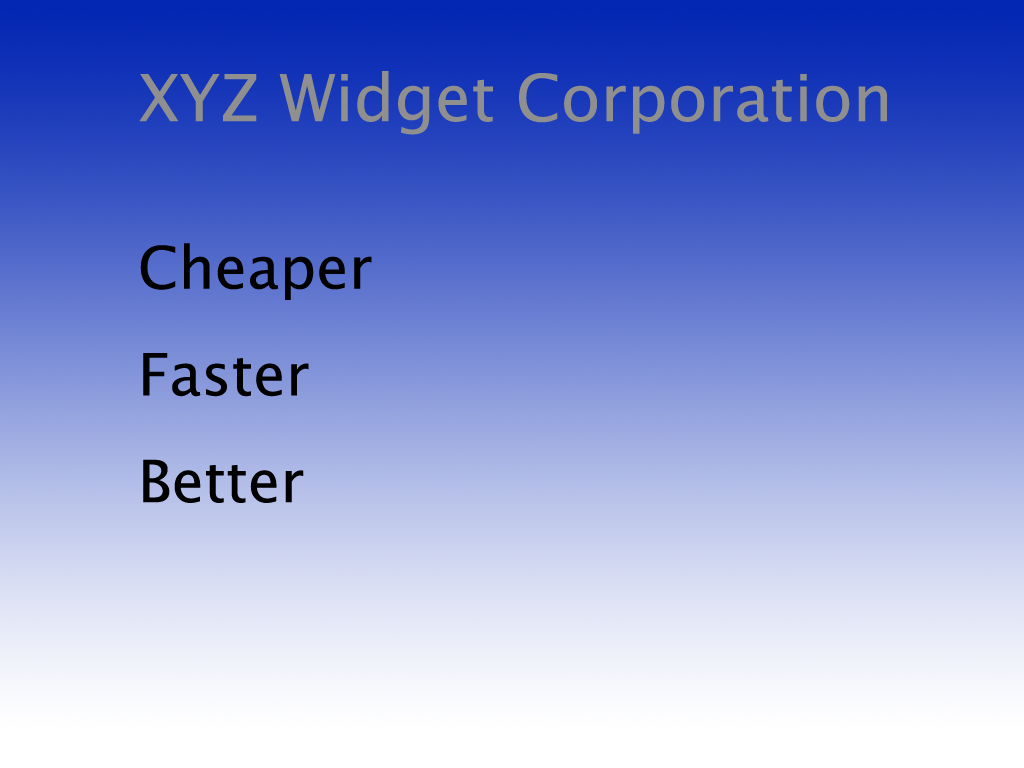
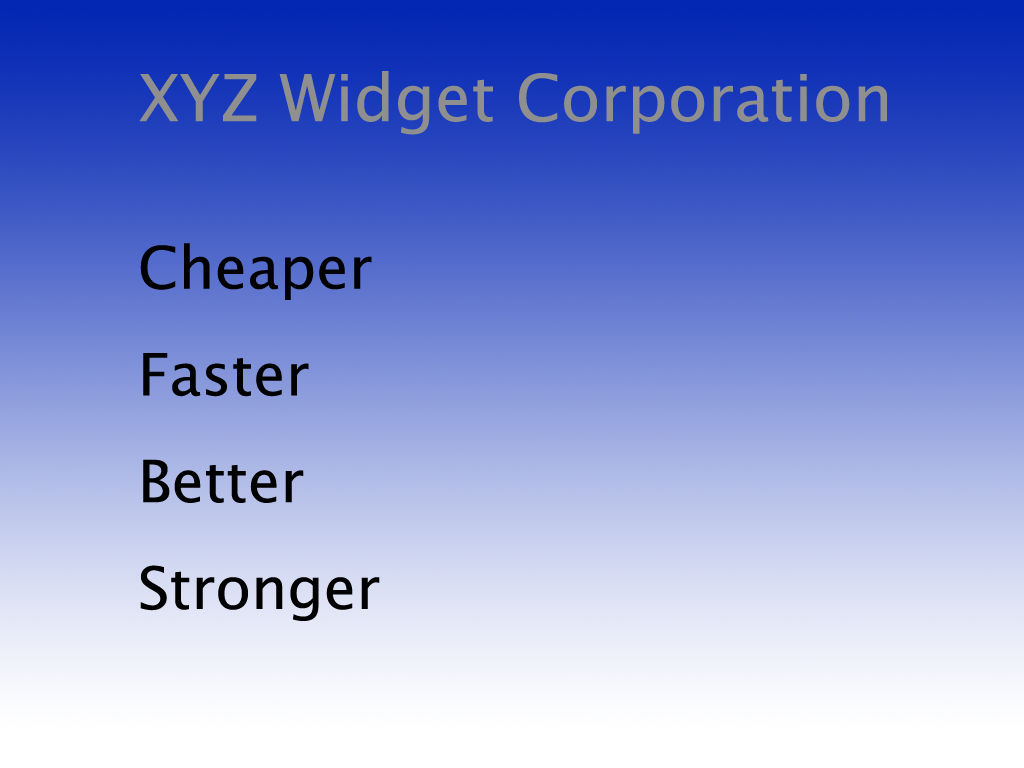
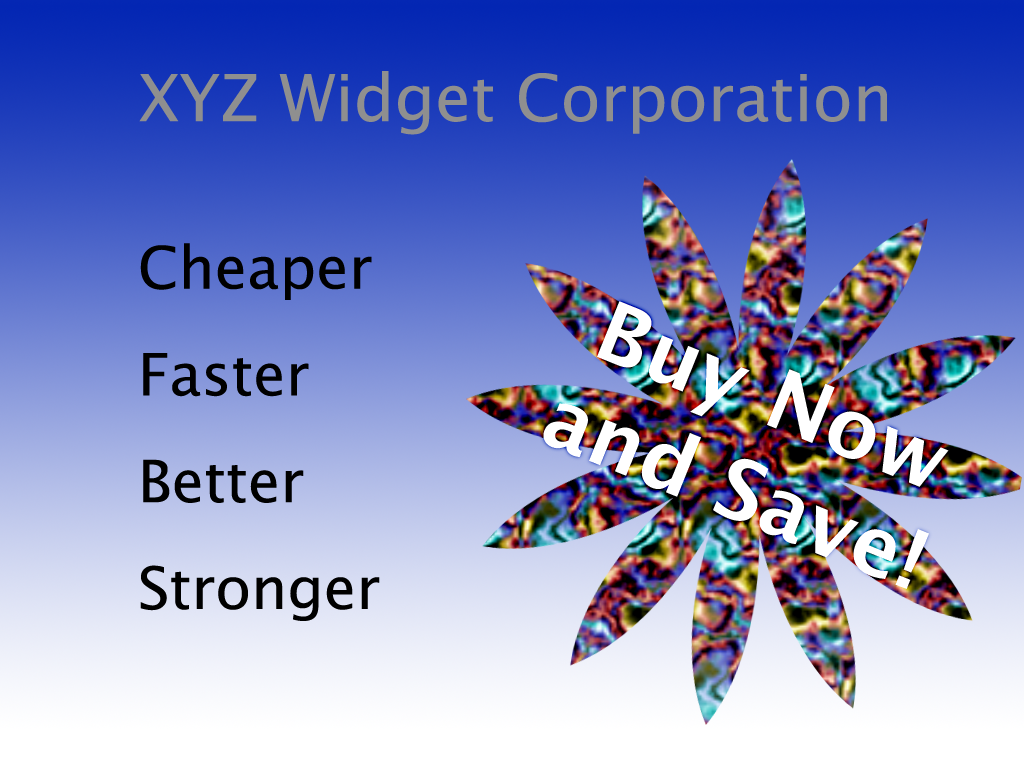
Created generic background and bullet-point artwork.
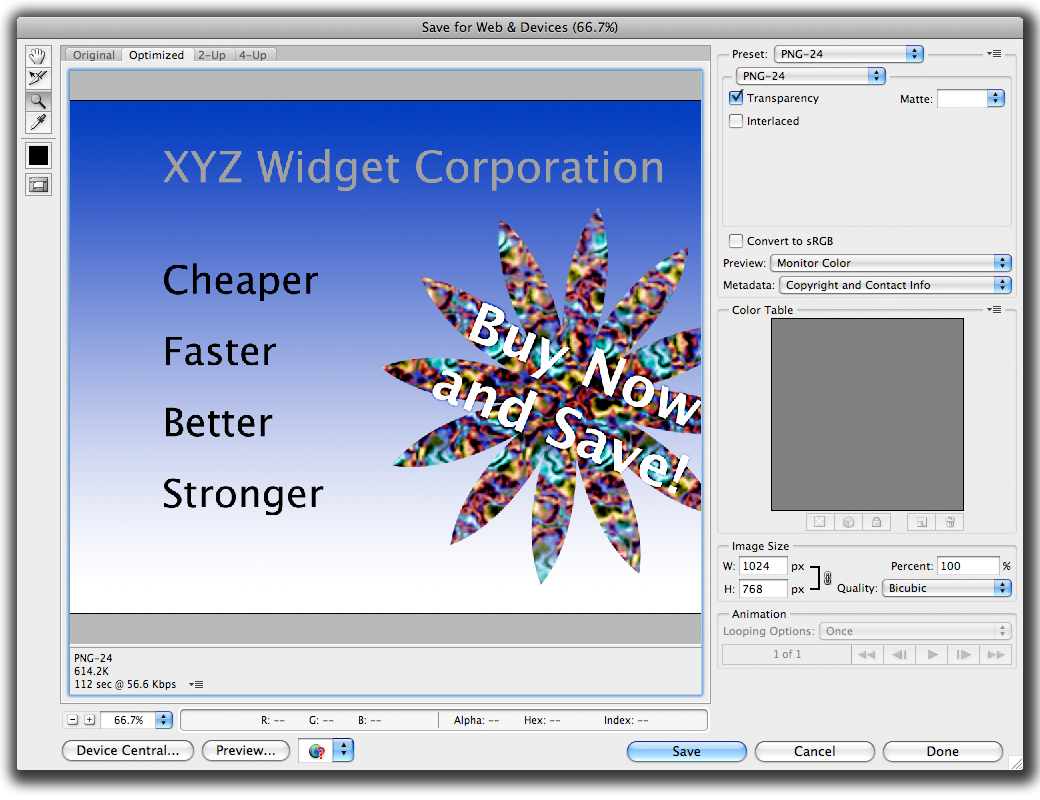
Export your artwork through Abode Photoshop's Save For Web.
Arranging your assets
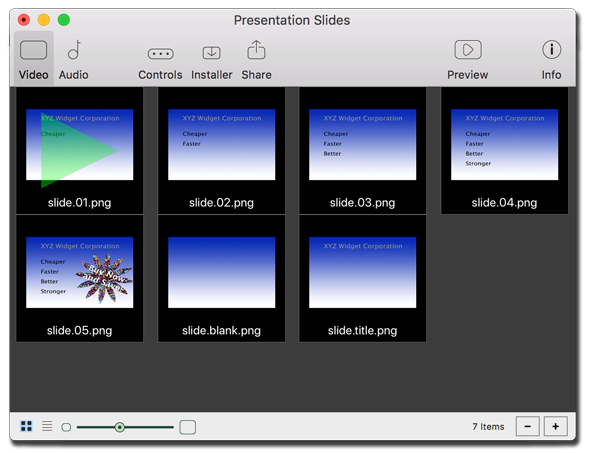
When first importing items to the sequence, it'll be arranged alphabetically left to right, and top to bottom, in sequential order. Grab the thumbnails to reset the order, but if you are intending to shuffle then their order does not matter. Use either Thumbnail View or List View to re-arrange the order.
For this example, there is a particular order, looping, but always starting at the beginning of the sequence. We used the ability to move multiple items, so that the blank background would be the first in the sequence. Under the Info palette's Global Video Sequence settings, the defaults were appropriate.
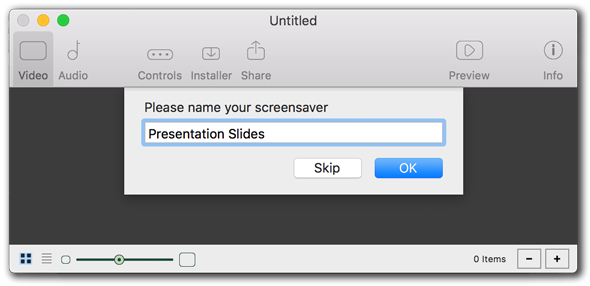
The wizard will automatically fill in your project name in various places throughout the screensaver and installers.
Import your items.
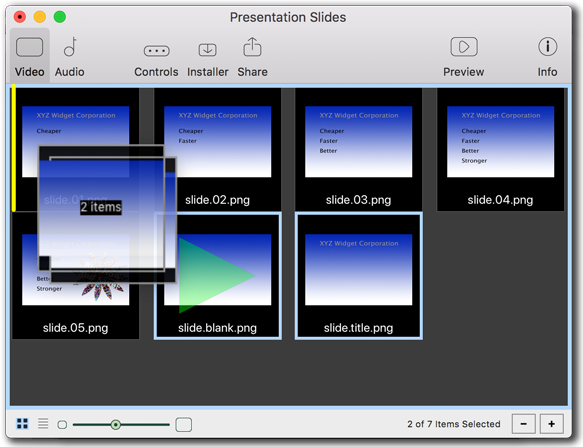
Re-arrange multiple items.
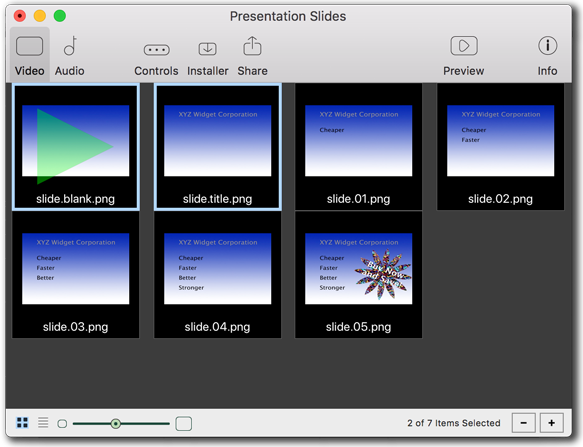
The final sequence order (from left to right, then wrapping down a row), as seen in Thumbnail View.
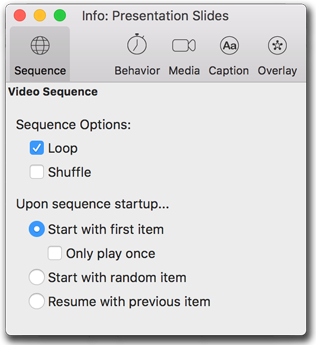
The global sequence settings control how the sequence shall startup and perform.
Setting overall item values
It's easier to start with the settings that are in common between all the items. On the Behavior tab, Play defaults to 10 seconds, and all Overlays off. On the Media tab, Display defaults to Letterbox, Effect to a motion Dissolve, and Compression to High Quality.
For this example, while everything is selected, switch Compression to None. The blue gradient is a difficult pattern with for the JPEG format, and the art was saved as Lossless PNG, so the default is incorrect for this project as JPEG artifacts can be seen when it scales up on larger monitors.
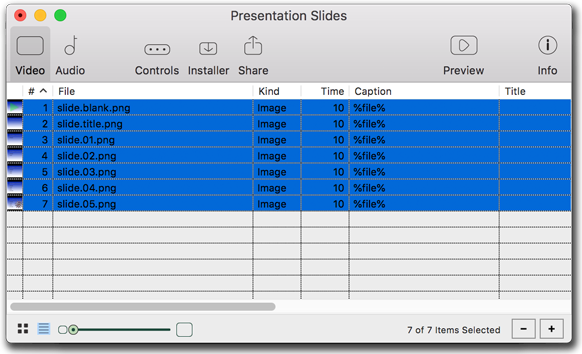
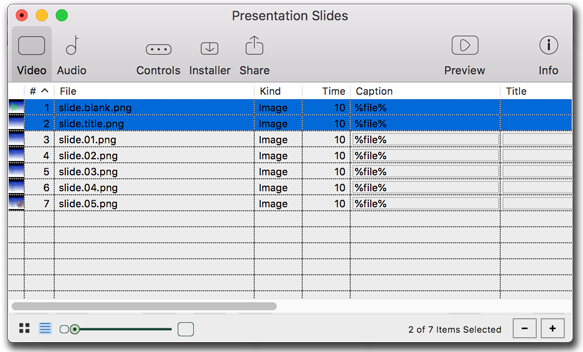
Select all the items, as seen in List View.
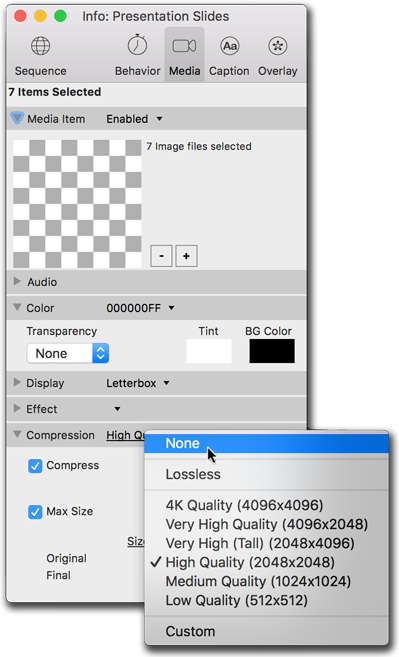
On Info palette's Media tab, switch compression to None.
Setting specific item values
Sometimes the List View allows more information to be gleaned while authoring a screensaver. Try selecting a few items that share settings. Control-click the column names to re-sort or view more column information. Use the Info palette to quickly switch out parameters, and view in the Preview stage.
For this example, the first two images will be Dissolves, whereas the rest will be Wipe-Right. Select the first two and open the Effect section, to turn off Random Motion and Simultaneous Out Effect, as movement is not necessary, and we need our previous item to hold on-screen a bit longer before fading away.
With those settings set, trade in the selected items for the unselected items by inverting the selection. Switch the Dissolve Effect for Wipe towards the Right. With Wipe or Slide Effects, the Simultaneous Out is defaults to the, in this case, proper off.
From List View, select the items to be using Dissolve effects.

On Info palette's Media tab, set Dissolve Effect options off.
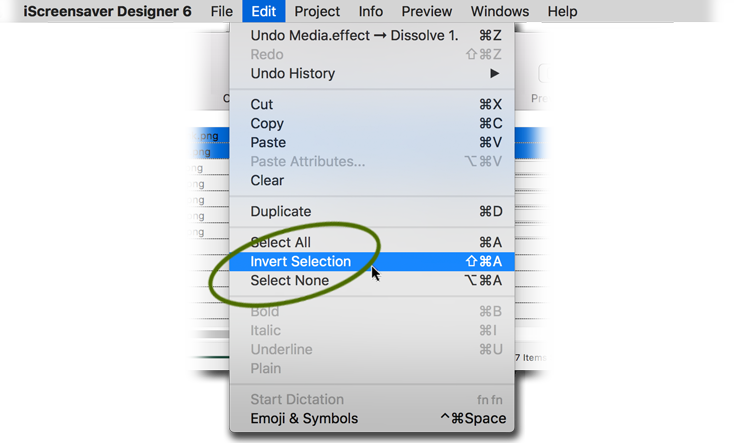
From the Edit menu, reverse the selection of items.
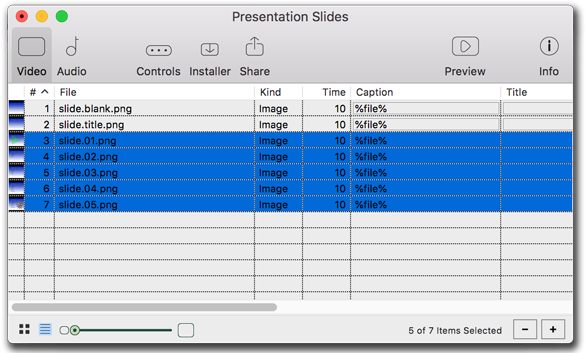
From List View, notice the selection has been inverted.
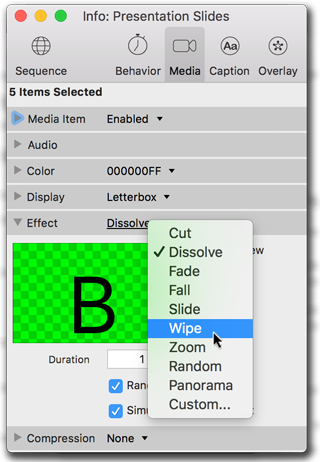
On Info palette's Media tab, switch Effect to Wipe.
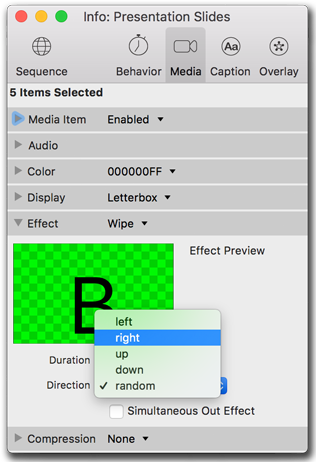
On Info palette's Media Effect section, switch Wipe Effect to the Right.
Setting durations
Different items deserve longer durations, or shorter ones.
For this example, the title and the final slide were to be on longer than the others, but that the others actually need to be shorter. Selecting multiple items with the command button (on Macintosh) or control button (on Windows) make a simple chore for matching items.
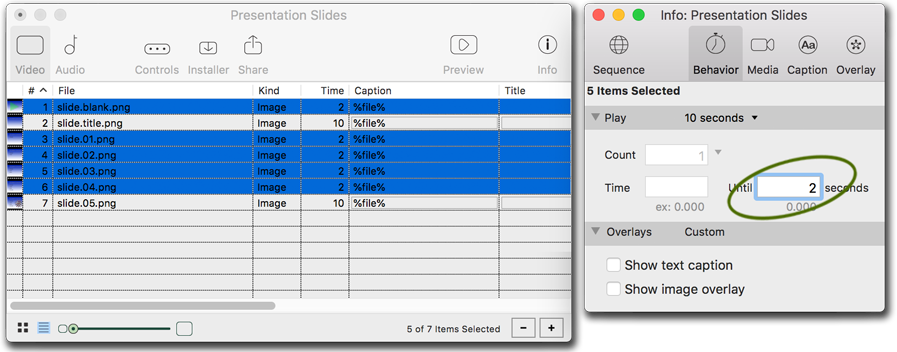
From List View, select the sequence items that need a shorter duration.
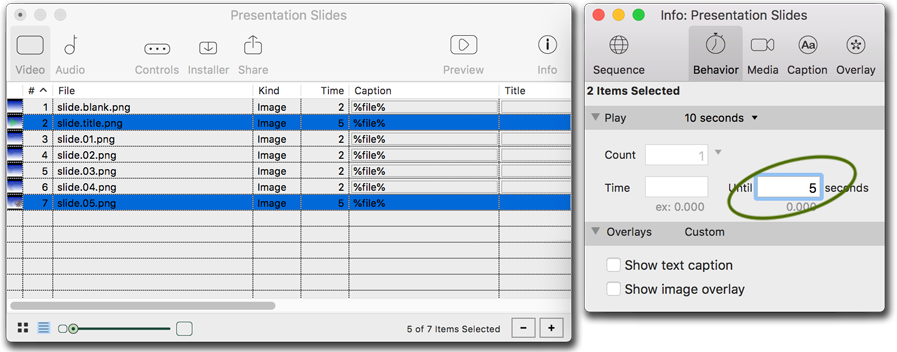
Inverse your selection, change the duration times for the other the sequence items.
Building your screensaver
If saving has not occurred, the build will cancel. Save. Choose your platform, build, and install directly from iScreensaver.
For this example, the wizard pre-filled all the pertinent information for filenames and project names with 'Presentation Slides' at the beginning. Save, then on the Build tab, move to the Mac or Win subtabs (depending on platform), and Build. To immediately install, just choose Install when the build process is complete. For more details on the build, see 'Details...' If you install a second time and if the filenames are the same, you will replace the previous version, not add a second screensaver.
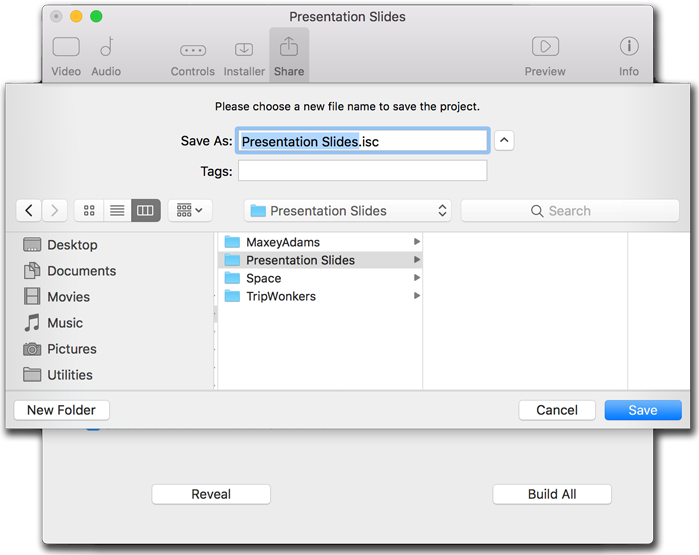
Save the screensaver project, if not saved before now.
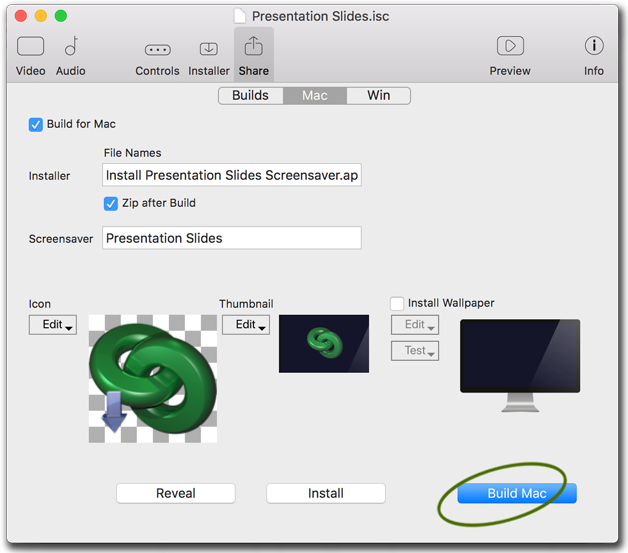
Build the screensaver on your system.

Install the screensaver on your system.
Success!
Of course, now you are going to want to go through the entire User Manual, which explains many more important details and gives plenty of questionable advice.