☰ Table of Contents
- Complete Guide
- Table of Contents
- Introduction
- Welcome to iScreensaver
- Downloading and Installing
- Designing and Preparing
- Preferences
- Managing Projects
- Importing Media
- Editing a Screensaver
- Branding Control Panels
- Customizing Installers
- Building Installers
- Distributing Installers
- QuickStart and Sample Projects
- Installing a Screensaver
- Troubleshoot
Using Third-Party Tools
Some big changes have rocked the internet-video world since iScreensaver Classic was released. HTML5 video has become much more cross-platform friendly, and Flash and QuickTime have been eclipsed in use (and then completely buried) as modern operating systems welcome the H.264 standards.
Adobe Flash
Using Flash brought its own security risks. iScreensaver Designer no longer supports Flash content.
Apple QuickTime
Movies have been transitioning to a cross-platform non-plugin HTML5-based solution for a few years, and QuickTime has been downgraded out of the primary Apple ecosystem. QuickTime Player can still be downloaded and be useful as a tool, but the technology is not used directly for creating and running screensavers with iScreensaver Designer any longer.
Salient Points for Authoring Movie Screensavers:
- QuickTime Player has fewer available codecs than previous versions, as many legacy codecs have been switched off. We recommend H.264 encoding only.
Creating QuickTime-free Screensavers
iScreensaver 6 does not require QuickTime.
Apple Photos
Use the Title and Description fields in iPhoto and Photos to set metadata that can be imported into iScreensaver.
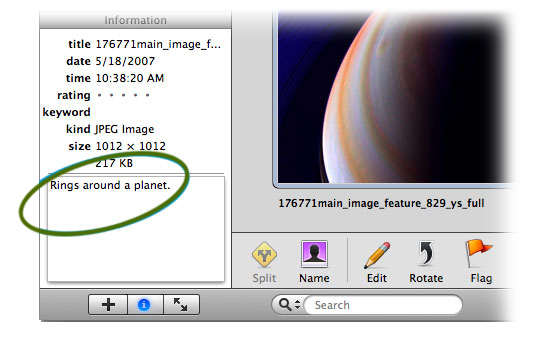
Import photo metadata information directly from Photos.
Apple iMovie and Final Cut Studio
Salient Points:
- Use the H.264 codec.
Adobe Photoshop
Adobe Photoshop is an invaluable tool for working with images. The program is wonderfully complex, and because of that, there are many paths towards achieving similar results. We urge experimentation.
Creating PNG Transparencies
When using background colors with solid images, the actual image shape may be much different than the square bounding-box of the image. In these cases, a JPEG image will not be the proper format, and the image should be converted to PNG which supports transparency within the file.
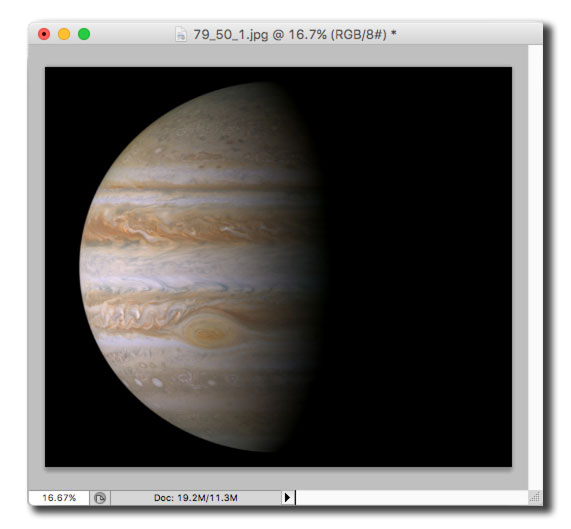
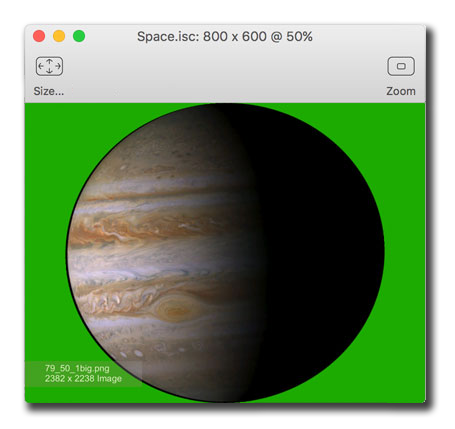
As an example, in reality the planet Jupiter is usually assumed to be a sphere, but many photographs contain a fall off into deep dark space. To overcome this, and to remove the bounding-box square around the image, we want to create a circle alpha mask to separate Jupiter from the background.
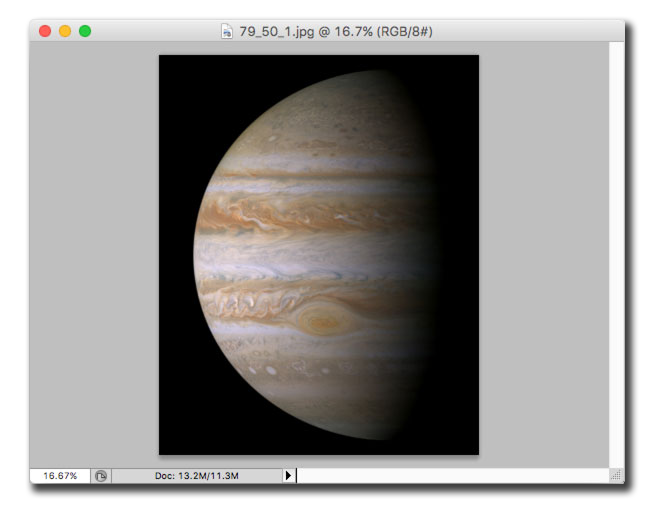
Our original JPEG image.
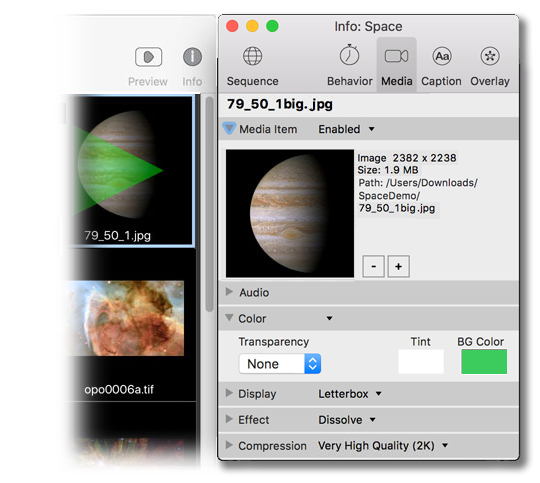
Set a background color to bright green.
Importing the JPEG image and adding a background color with a slight tilt shows the bounding-box limitations of the JPEG format.
From within Photoshop, since the center of this image is off-set towards the right, use the Canvas Size settings to add extra pixel room to a create a full rectangle around the circular image.
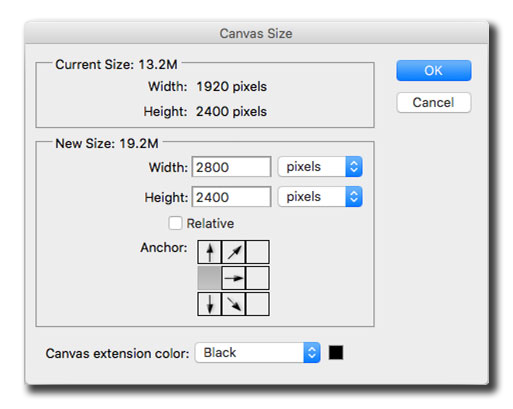
Anchor and resize the width of the image.
The newly resized canvas.
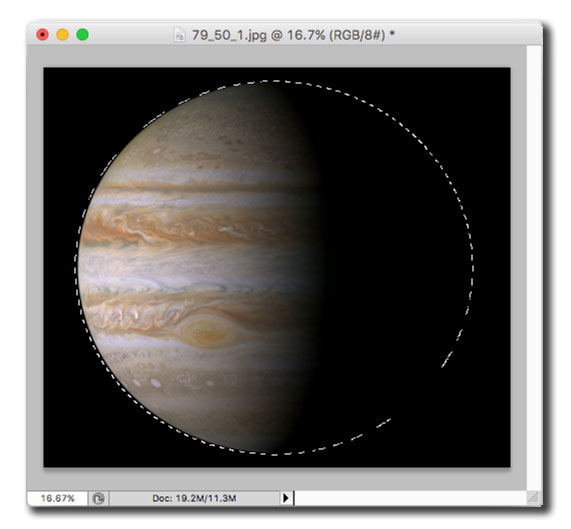
Use the Circle Marquee tool to select and 'complete' the image mask area.
It is recommended to use a slight feather to your final resolution's mask size, as hard edge masks can present some OpenGL edge artifacting.
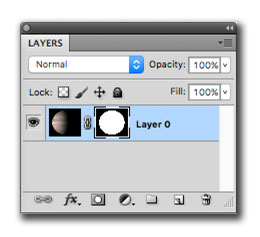
In Photoshop's Layers palette, change the Background Layer to a floating layer and add a layer Mask based on the marquee selection.
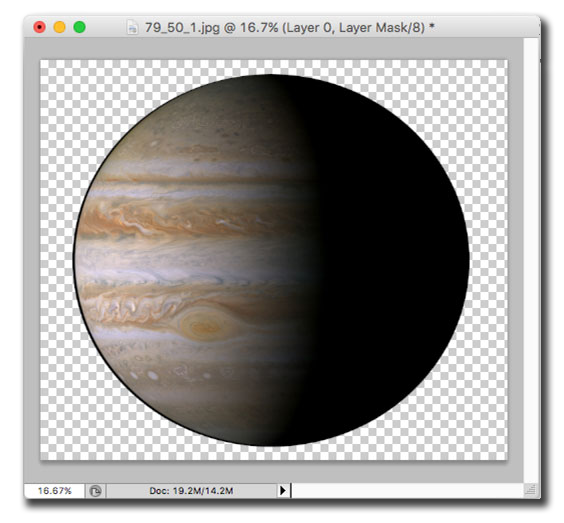
The newly relayered canvas.
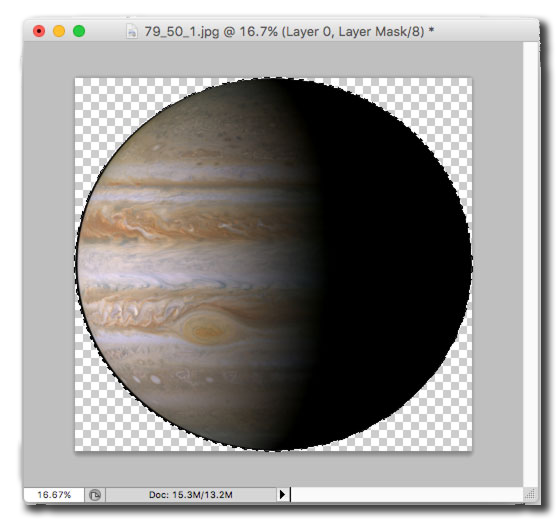
Crop the newly relayered canvas.
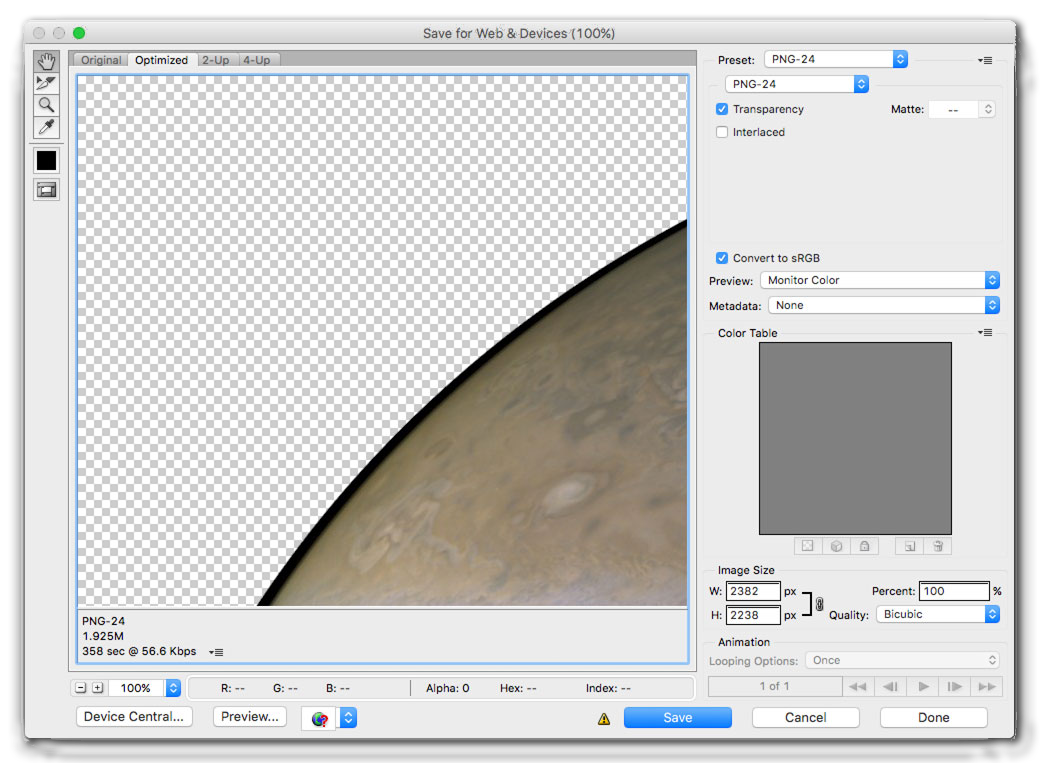
Use 'Save for Web & Devices' to save as a PNG with transparency.
Resize the final Image Size during save without affecting the original file, if desired.
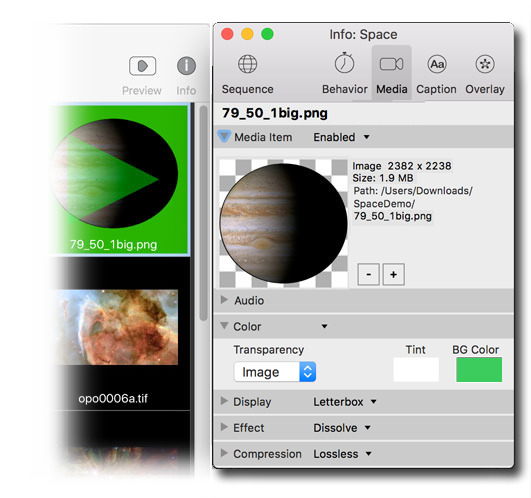
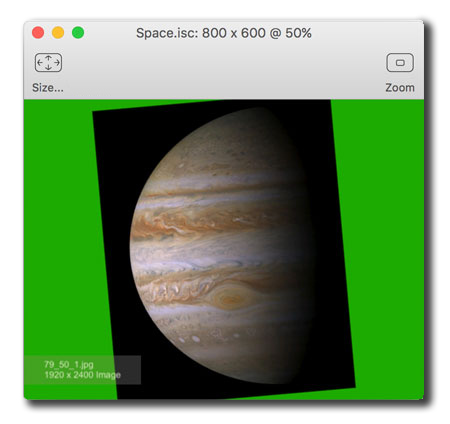
Import the new PNG file, and change the Transparency setting to 'Image.'
Set the Compression setting to Lossless, for PNG files.
View the new planet with a background color.