☰ Table of Contents
- Complete Guide
- Table of Contents
- Introduction
- Welcome to iScreensaver
- Downloading and Installing
- Designing and Preparing
- Preferences
- Managing Projects
- Importing Media
- Editing a Screensaver
- Branding Control Panels
- Customizing Installers
- Building Installers
- Distributing Installers
- QuickStart and Sample Projects
- Installing a Screensaver
- Troubleshoot
Managing Projects
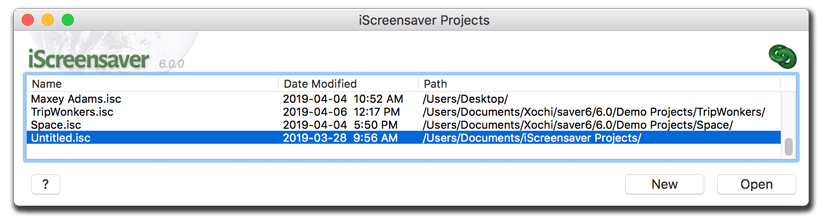
You can create virtually unlimited numbers of screensaver projects and have them open and available simultaneously, however, there is less strain on system resources to have fewer open at a time. The Projects List window has a list of your most recent projects.
Using the Projects List window
It is the first dialog encountered when starting iScreensaver, so hopefully, the Projects List window will become welcomed as a treasured friend. In the beginning, there are just some sample projects listed that we created for you, but eventually those will be elbowed out by your wonderful works. If it turns out to not be welcomed as a treasured friend, its use can be terminated from within the Preferences.
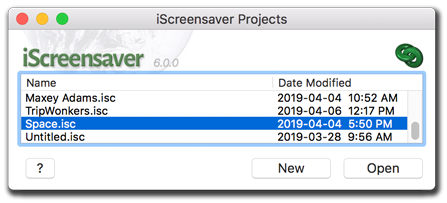
The Projects list
List of the most recent projects, which can be ordered by Name, Date Modified, or Path to the Project on the drive.
The ? button
Quick jump to the online Help and Support documents.
The Register button
Quick jump to preferences and registration, but will disappear once registered.
The New button
Create a new screensaver project.
The Open button
Will either open an existing, selected screensaver project, or if no project is currently selected, then a standard File Browser dialog will present itself.
Tips:
- Drag to expand the window to view the project Paths.
- Re-order the projects by clicking on the Name, Date Modified, or Path columns. Multiple clicks reverses the list order.
- Resize the widths of the columns with the column divider.
- Use the keyboard Delete key to remove a project from the list. This will not remove it from the hard drive, only from being listed in the Project Lists window.
Creating a New Project
To start a new screensaver project:
- Do one of the following:
- Click the 'New' button.
- Select New from the File menu.
- On Macintosh, type Command-N.
- On Windows, type Control-N.
A new project window will open.
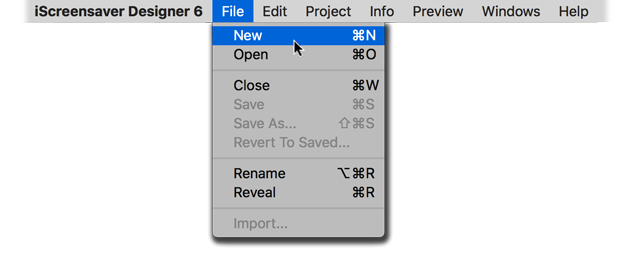
Choose New from the File menu.
Naming a New Project
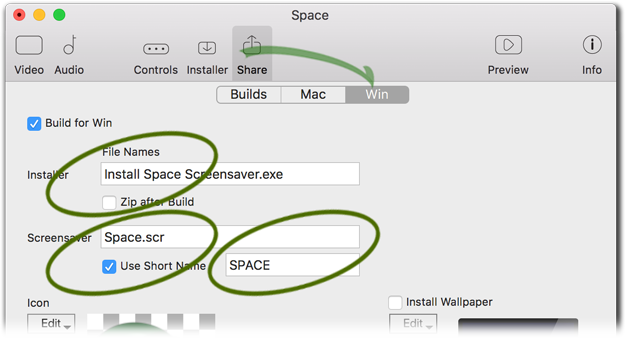
When you create a new project, you'll be asked for a name. This name will be used in various places; the project name, the control panel title, the installers, and the screensaver and installer filenames. You can also skip this step, or turn this feature off from within the Preferences. You can always edit these text strings later.
To create and name a new screensaver project:
- Do one of the following:
- Click the 'New' button.
- Select New from the File menu.
- On Macintosh, type Command-N.
- On Windows, type Control-N. - A new project window will open, and the wizard will ask for your new screensaver name.
- Enter a name, and click the OK button.
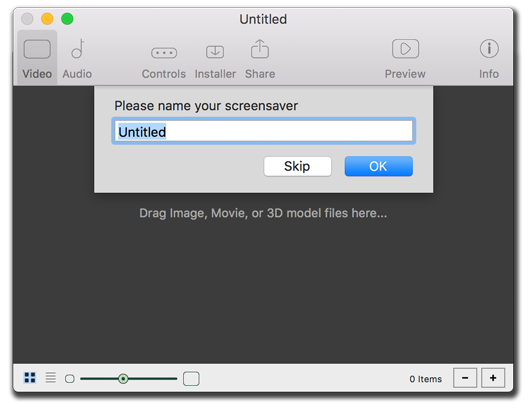
Choose Skip to not auto-fill any names.
So, What Does The Wizard Do Exactly?
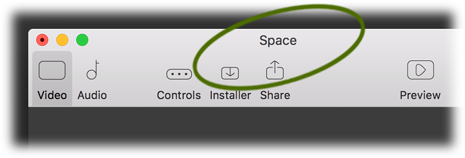
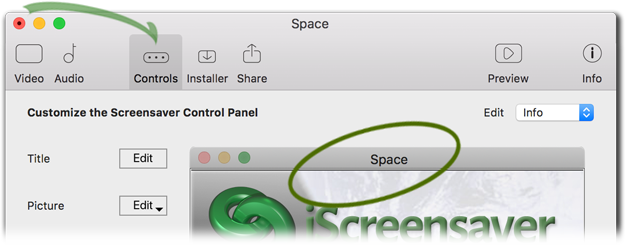
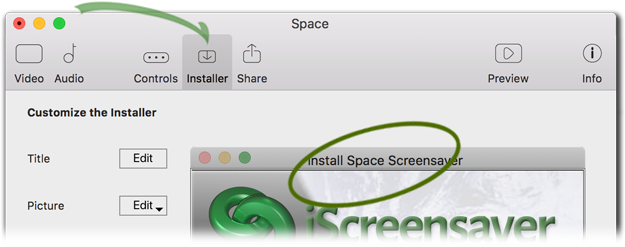
The wizard places your 'name' in the following locations, using 'Space':
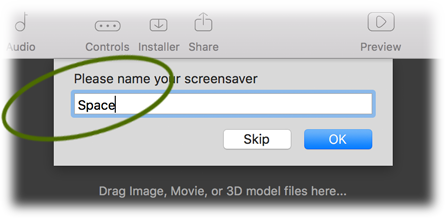
- Project name:
- Controls window title bar:
- Installer window title bar:
- Build Macintosh file names:
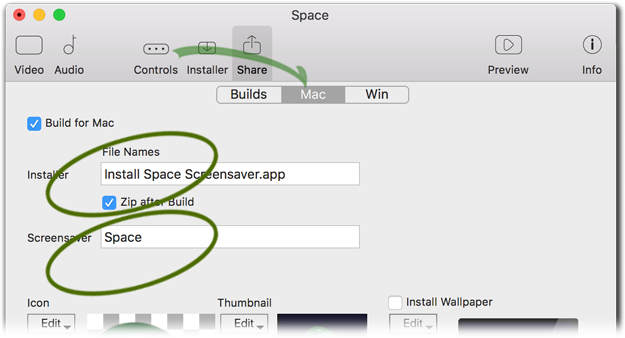
- Build Windows file names:
Tips:
- No matter what name you used in the wizard, you can always edit everything later.
- There is generally no need to name the screensaver with 'Screensaver' with the wizard (but that's a personal choice). It is automatically added to the installer name, but can be edited if you choose.
- If you do not see the wizard when starting a new project, check the Preferences, as it may be switched off.
- Names can include Unicode (UTF-8) text, and should work on all supported operating systems, but only if the requested fonts are installed. Be sure to test thoroughly.
- The wizard names the Project, but it does not automatically save the Project. Make sure to periodically save your projects.
Opening an Existing Project
Saved projects will show in the Projects List window.
To open a screensaver project:
- If the desired project is in the Projects List, select the file.
- If the project is not in the Projects List, select nothing, and after you perform one of the following steps, a File Browser will appear allowing you to choose a project from your computer.
- Do one of the following:
- Double-click the file name.
- Click the Open button.
- Select Open from the File menu.
- On Macintosh, type Command-O.
- On Windows, type Control-O. - If you had selected nothing, then use the File Browser to find your desired project and click the Open button.
The project window will open.
Double-click the selected file name from the Projects List window.
Tips:
- Open more than one project at a time by either Shift-clicking, Command-clicking, or Control-clicking on the project names in the list before clicking the Open button.
- On Macintosh, quickly deselect a project from a selection by Command-clicking it.
- On Windows, quickly deselect a project from a selection by Control-clicking it.
Saving the current Project
Always save your work.
Always, always save your work.
Always, always, always save your work.
We mean it. It's good to learn the command keys for saving your projects.
Use them often.
To save a screensaver project:
- At any time, do one of the following:
- Select Save from the file menu.
- On Macintosh, type Command-S.
- On Windows, type Control-S. - If you already saved the file once, then it will save it again with the same name.
- If it's the first time to save the project, enter a name for your project, select a location, and click the Save button. The default location is a folder in your Documents called iScreensaver Projects.
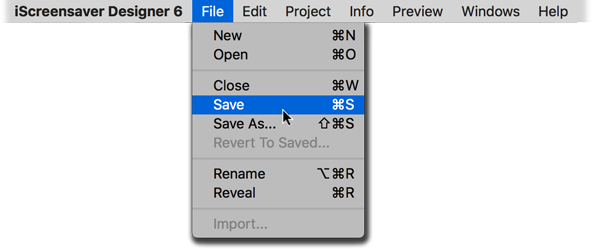
Choose Save from the File menu.
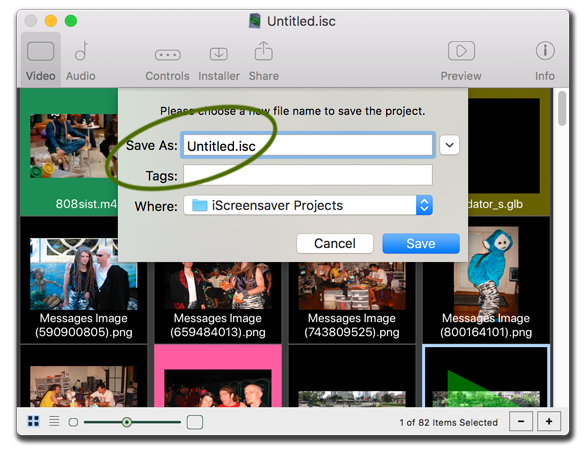
Name the New Project. The default location is iScreensaver Projects.
To save a copy of a screensaver project with a different name:
- At any time, do one of the following:
- Select Save As... from the file menu.
- On Macintosh, type Shift-Command-S.
- On Windows, type Shift-Control-S. - Enter the new name for your new copy of your project, select a location, and click the Save button.
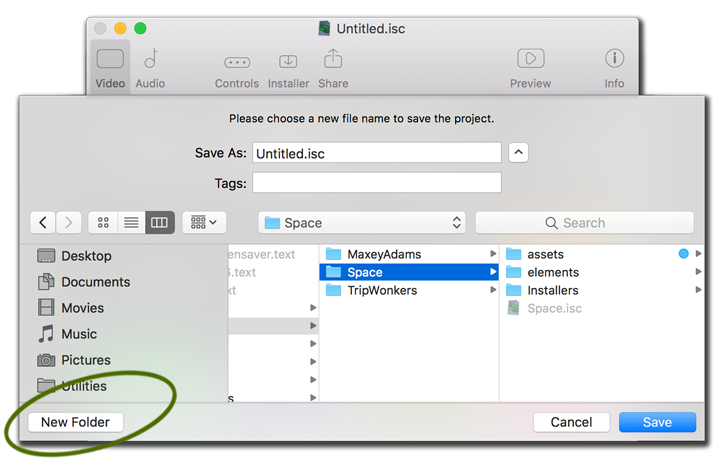
Choose Save As... from the File menu. Notice the ease of creating New Folders.
Duplicating a Project file
There are many times when you will wish you had a template or default screensaver project or a way to create multiple draft versions for clients, and here's how: once you have your sample project finished and saved, use the Duplicate feature to make your newest next creation.
To duplicate a screensaver project:
- In the Projects List window, choose your original project.
- Do one of the following:
- Select Duplicate from the Edit menu.
- On Macintosh, type Command-D.
- On Windows, type Control-D. - Enter the new name for your duplicate project, select a location, and click the Save button.

Choose Duplicate from the Edit menu.
Tip:
- This Duplicate command is contextual and will also be used for duplicating items in a sequence. It'll know what you want.
Renaming a Project file
There are so many reasons a screensaver project might need to have its saved project name changed halfway through production (not that we recommend it). But in case you needed, we've built that in, so just use the Rename feature from the Projects List window.
To rename a screensaver project:
- In the Projects List window, choose your original project.
- Do one of the following:
- Select Rename from the file menu.
- On Macintosh, type Option-Command-R.
- On Windows, type Alt-Control-R. - Enter the new name for your project, and click the OK button.
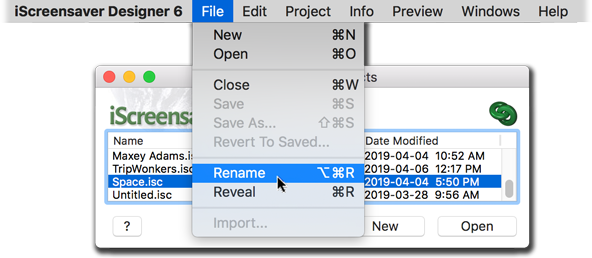
Choose Rename from the File menu.
Tip:
- Renaming a screensaver project file does not replace text in the control panel, installers, or anywhere else within the project. You'll have to adjust these items manually.
Revealing a Project file
Sometimes you just need to find the actual file on your hard drive.
To find a screensaver project:
- In the Projects List window, choose your project.
- Do one of the following:
- Select Reveal from the file menu.
- On Macintosh, type Command-R.
- On Windows, type Control-R.
The file will be shown in the Finder, or Explorer, windows.

Choose Reveal from the File menu.
Assembling archives
By placing all included assets together in one folder, it becomes simpler to package together one project for archiving, once complete. Subfolders, such as for audio, overlay art, or video, also help separate the elements for future project revivals.
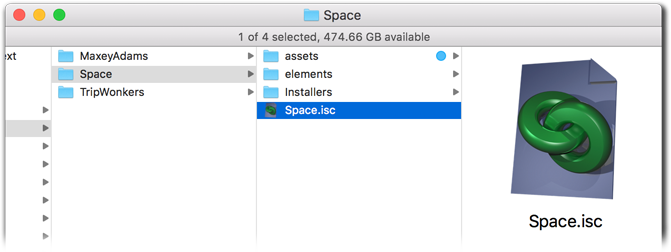
Place all project assets together in a simple folder structure.
Moving projects between authors
Once all the included assets are placed together in one folder, it becomes simpler to compress, or zip, the entire folder structure for moving between workstations. Upon first opening, the second workstation may need to be directed to where the file copies have been placed.
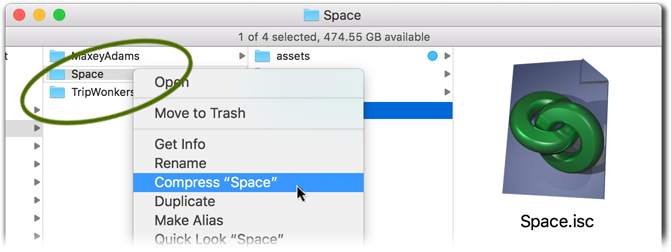
Control-click the mouse to compress the top folder.
Creating project templates
Once a project has been created in a manner in which it can serve as a template for a single client, a series of projects, or corporate identity, there are built-in ways within the operating systems to protect these new defaults.
To protect a project template:
- Close your project.
- In the Projects List window, choose your project.
- On Macintosh, do one of the following:
- Select Reveal from the File menu.
- Type Shift-Command-R. - On Windows, do one of the following:
- Select Reveal from the File menu.
- Type Shift-Control-R. - The file will be shown within the desktop.
- From the desktop, select the .ISC file.
- On Macintosh, do one of the following:
- Select Get Info from the File menu.
- Type Command-I. - On Macintosh, select Stationery Pad within General Information.
- On Macintosh, close the Info window.
- On Windows, select Properties from the right-click contextual menu.
- On Windows, select Read Only within General Information.
- On Windows, close the Properties window.
Resulting Open Project requests will only open copies of the original file.
To edit a project template:
- Close the project.
- Return to the desktop's Get Info or Properties window.
- Unselect Stationery Pad or Read Only.
- Close the window.
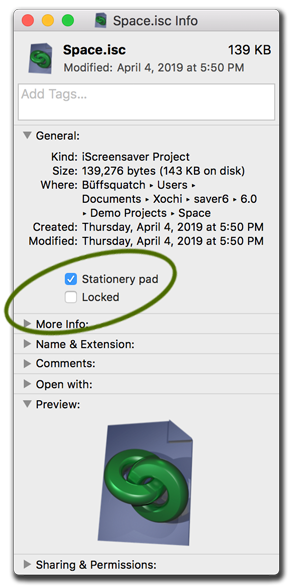
Protect a template as a Stationery Pad.
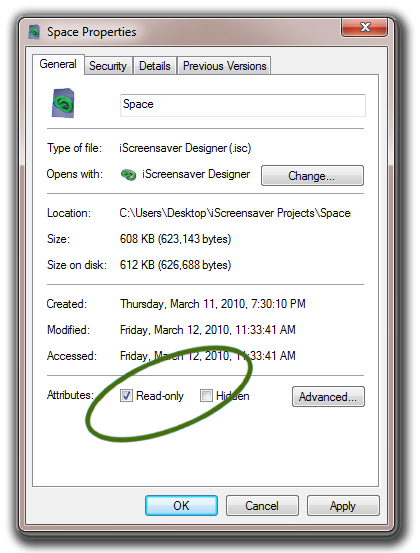
Protect a template as Read Only.
Tip:
- On Windows, it is recommended to close your project and make a safety backup to protect it, creating a duplicate file in Windows Explorer for each new template needed.